


Compact plug-and-play imaging
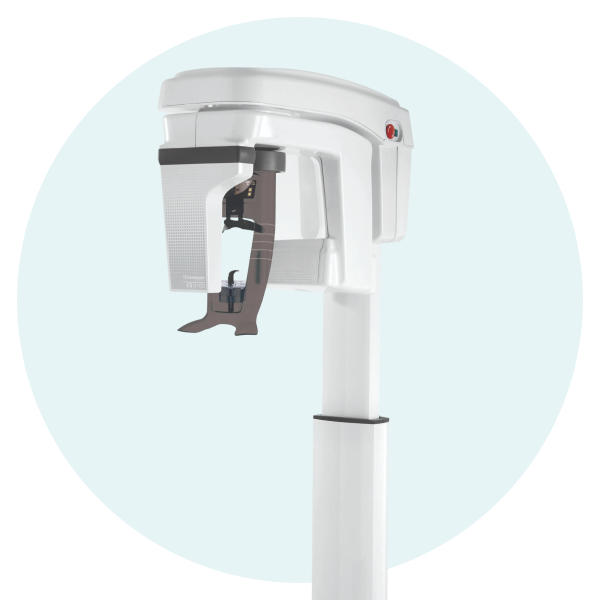
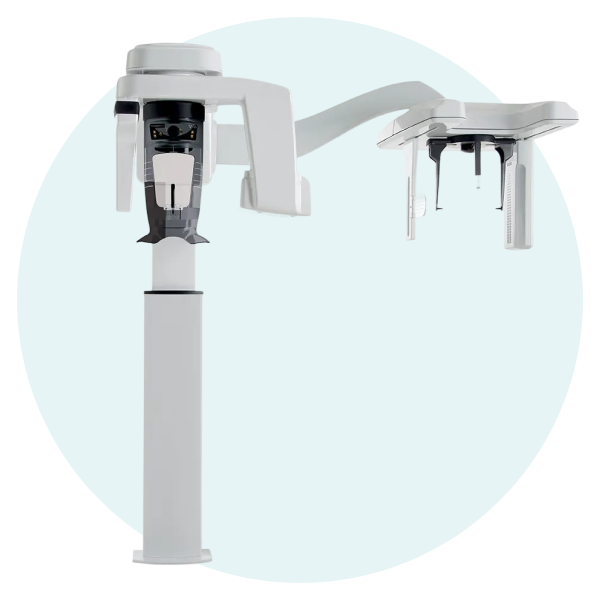
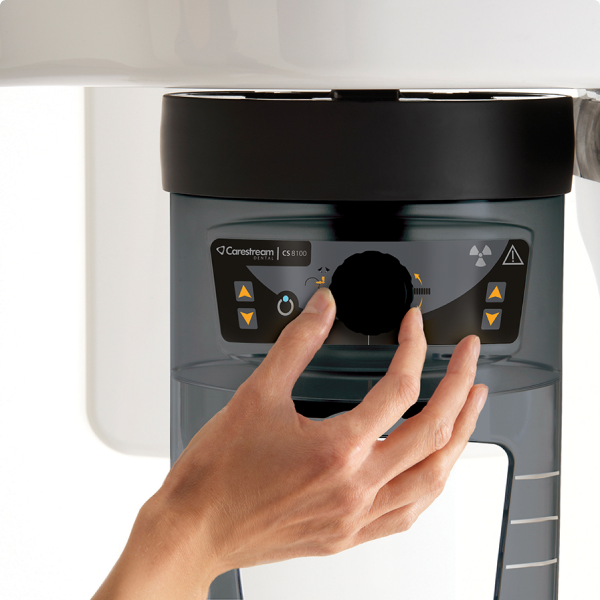
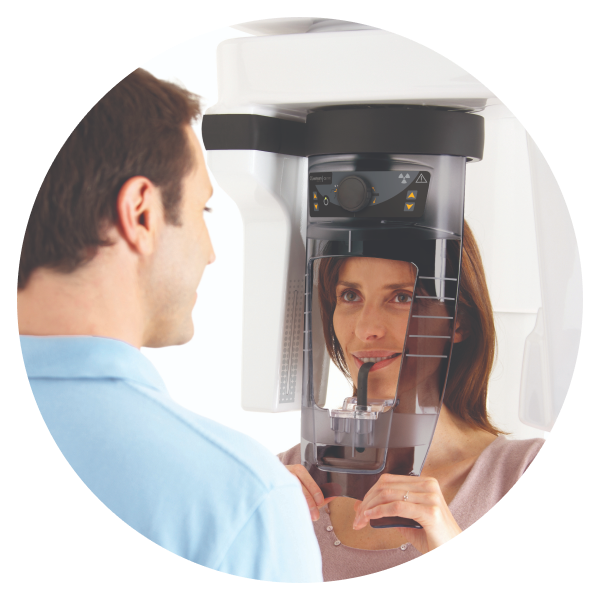
The award-winning CS 8100 delivers powerful imaging capabilities through an easy-to-use and compact system that is designed to meet your everyday imaging needs—both today and tomorrow. From better positioning and faster image acquisition to higher image quality, the CS 8100 is designed to benefit you. Easy to install, learn and use, the system is ideal for general practitioners and can be easily upgraded to include cephalometric imaging for your orthodontic needs.


Delivery Included



Manuals/Docs

Carestream-8100-2D-User-Guide


Enquire Now
Ready to buy new equipment? Speak with our equipment specialist today.Introduction


Detailed below is a list of error messages which may appear on your unit’s screen. Click on a message to see the possible cause of the error or warning and what action should be taken.
Occasionally, malfunctions can occur during use in the event of an incorrect action. An error message is displayed on the popup on the Acquisition interface System Status Screen.
If an Error Code message is displayed, you do not find the problem below or the action you take does not solve the problem, please contact our support team on 08700 10 20 46. In order to help you, have the model number of your unit and details of the error code message.
Message: Err_S_8100_CJ848_GENERATOR_36865
This message means the handswitch was released before the end of exposure. The user has released the exposure button prematurely.
Action
Relaunch the acquisition and hold the exposure button until the end of the acquisition cycle.
Message: X-ray tube cooling
This message means cooling in progress.
Action
Wait until the Generator Cooling Indicator on the Acquisition interface reaches zero.
Message: Thermal security
This message means cooling in progress.
Action
Wait until the Generator Cooling Indicator on the Acquisition interface reaches zero.
Message: Release handswitch
This message means the acquisition has ended.
Action
Release the exposure button of the x-ray remote control.
Message: Start the acquisition
This message means the acquisition has been launched.
Action
Keep pressing and holding the exposure button.
Message: Upgrade of the firmware
This message means the system is being upgraded.
Action
Wait for completion of the upgrade.
Monthly
Wipe the outer covers of the unit with a soft and dry cloth.
Annually
We recommend a general inspection of the unit carried out by an authorised service technician.
Controlling the Image Quality
To maintain optimum image quality, the image quality must be controlled once a month. To control the image quality, follow these steps:
- On your desktop, double-click Image. The CS 8100 Technician Tools window is displayed.
- In the left pane, double-click Image Quality Tool. The Image Quality Control window is displayed.
In the Image Quality Control window, to perform the test, you can either:
- Select the desired device in the List of detected acquisition devices field.
Or
- Browse and import a file in the Import field.
Click Next and follow the instructions.
- Select the desired test and follow the on-screen instructions.
You have two test options:
- Constancy test: This test must be executed regularly by the user. The result of the tests must be compared to the Acceptance test. Select the desired test and follow the on-screen instructions.
Or
- Acceptance test: This test is ONLY executed by the technician. It is a complete image quality control test (make sure you have the required test tools). The result of this test is used as reference for the Constancy test by the user.
Share


Services and Solutions
)
Henry Schein Direct
Streamline your next equipment purchase with Henry Schein Direct, offering fast-track equipment, remote demonstrations, and expert support – wherever you are.

)
Increasing your practice value
By investing in latest technologies, updating your equipment, and increasing your availability with a new surgery room, you can attract new patients, improve the quality of care you offer, and differentiate your practice from competitors.
)
)
Henry Schein Financial Services
A vast range of financial products and services that are offered through our finance partners nationally
)
SunSchein Clearance
SunSchein offers a wide range of ex-showroom and ex-demonstration dental equipment, including treatment centres, laboratory equipment, and digital dentistry equipment.
)
Dental Equipment
Uncover everything you need for your dental practice, from essential dental equipment to cutting-edge solutions.