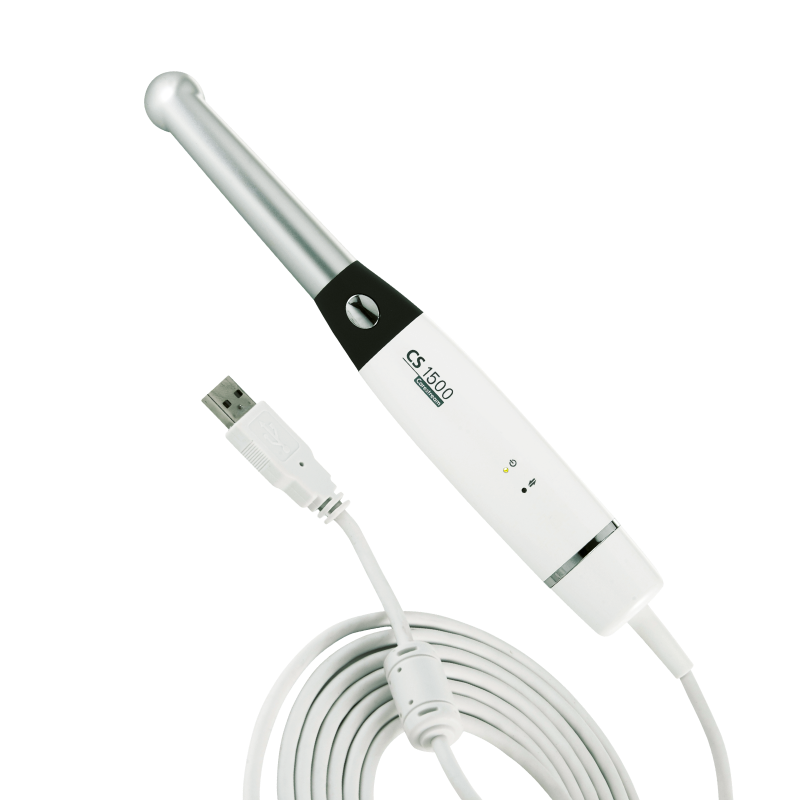
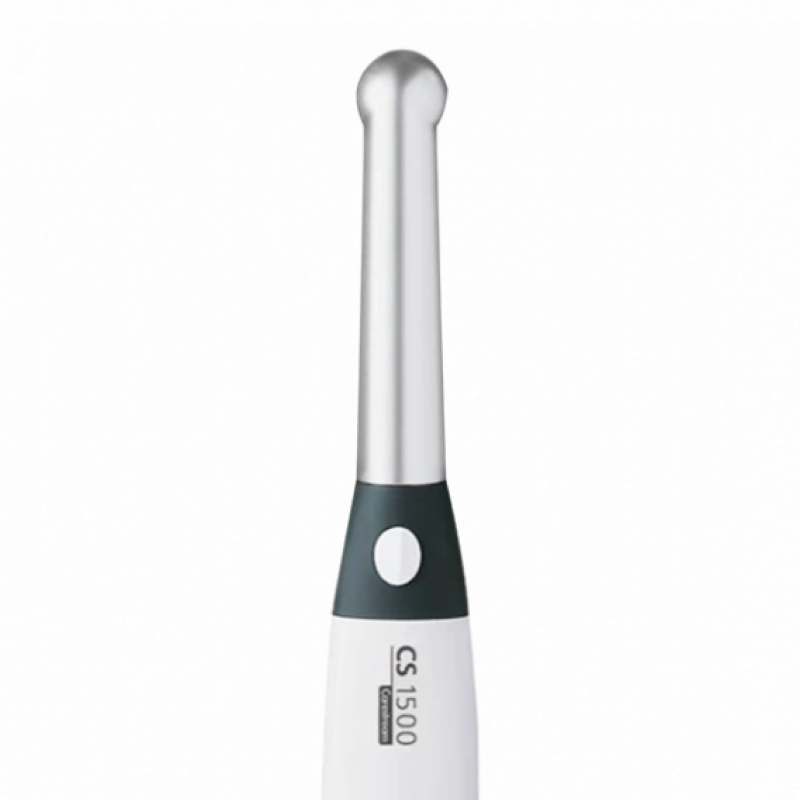
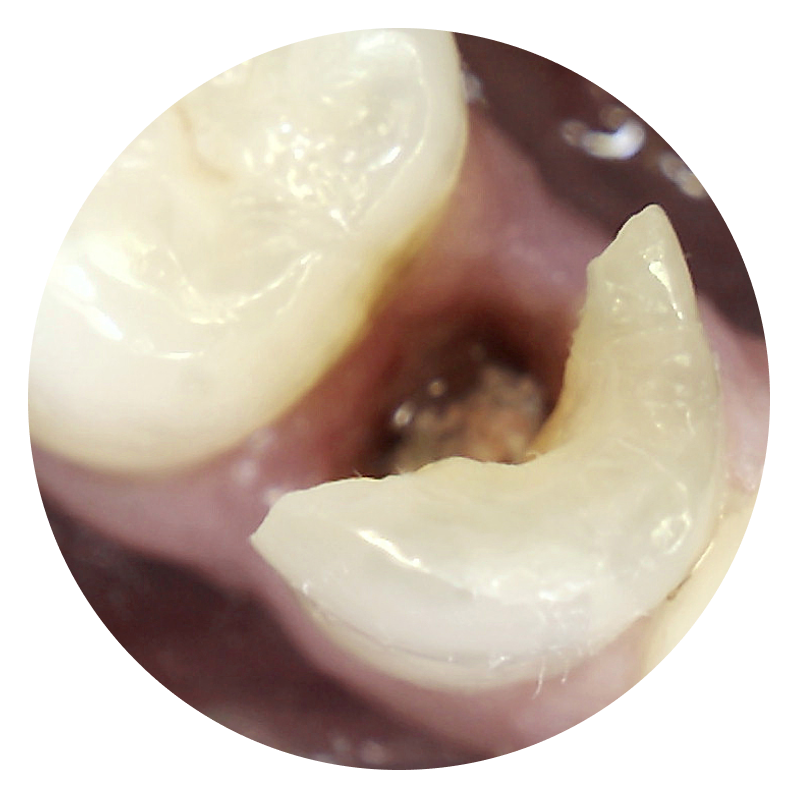
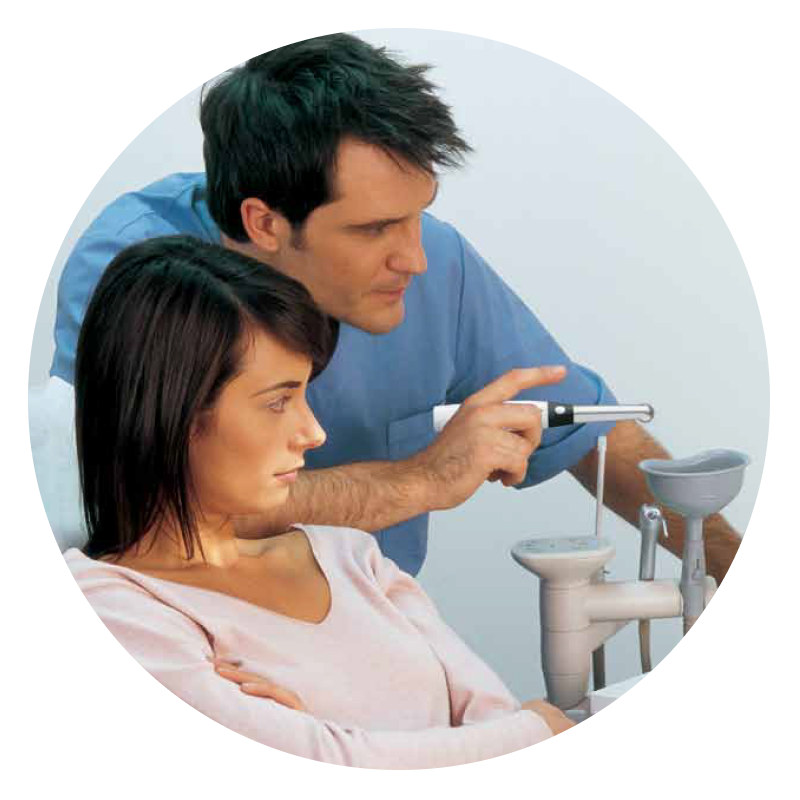
Get the visual evidence you need to educate patients and make more accurate diagnoses with the CS 1500—the intraoral camera designed to deliver precise, true-to-life images with each and every shot.


Delivery Included


Fast Track allows dental practices to acquire dental equipment quickly, with delivery possible within one week.
Say goodbye to long waiting times and say hello to a hassle-free experience.
Get quality dental equipment fast with FastTrack
Fast Track allows dental practices to acquire dental equipment quickly, with delivery possible within one week.
Say goodbye to long waiting times and say hello to a hassle-free experience.
Get quality dental equipment fast with FastTrack
Fast Track allows dental practices to acquire dental equipment quickly, with delivery possible within one week.
Say goodbye to long waiting times and say hello to a hassle-free experience.

If you're about to invest in dental equipment, you could be able to combine your costs and benefit from Advance.
Eligible customers will receive a rebate based on their merchandise and clear aligner spend, which can help cover the cost of your equipment.
Henry Schein Advance
If you're about to invest in dental equipment, you could be able to combine your costs and benefit from Advance.
Eligible customers will receive a rebate based on their merchandise and clear aligner spend, which can help cover the cost of your equipment.
Henry Schein Advance
If you're about to invest in dental equipment, you could be able to combine your costs and benefit from Advance.
Eligible customers will receive a rebate based on their merchandise and clear aligner spend, which can help cover the cost of your equipment.
Manuals/Docs
Carestream-1500-User-Guide
Carestream-1500-Quick-Start-Guide
Carestream-1500-Safety-and-Regulatory-Guide
Cleaning and Disinfecting the Camera
- You must wear gloves while handling and using the camera.
- The camera must be barrier protected with the protective sheath before use.
- The camera must be disinfected with an EPA-registered intermediate-level disinfectant solution with tuberculocidal activity between patients.
- Do not use a disinfectant containing phenolics or iodophors: doing so will damage the surface coating of the camera.
- Never put the camera in a sterilising device or immerse it completely.
- Excessive fluids can damage the camera.
- The camera is not protected against water spray.
Cleaning the Camera
If the camera is visibly contaminated with blood or body fluids, you must clean the camera before disinfecting it.
To clean the camera, follow these steps:
- Dampen (not soak) a lint-free cloth with lukewarm water.
- Remove the blood or body fluids with the dampened lint-free cloth.
- Wipe with an EPA-registered intermediate-level disinfectant between patients.
Disinfecting the Camera
Before each patient, the camera must be thoroughly disinfected.
To adequately disinfect the camera, follow the disinfectant manufacturer’s instructions for the appropriate contact time.
To disinfect the camera, follow these steps:
- Remove the protective sheath.
- Remove all visible soil
- Dampen (not soak) a lint-free cloth with 0.525% sodium hypochlorite or use a 1/10 dilution o 5.25% (for example, if in the USA, use GLUCO-CHLOR).
- Wipe all surfaces of the camera thoroughly. Do not rinse.
- Allow to dry in the open air.
Inspecting the Camera for Damage
Inspect the camera for signs of deterioration, such as the buttons or the cable. If damage is noted, do not use the camera and contact your representative.
Disposing of the Battery
The battery is a user-replaceable part ordered directly from the distributor or dealer.
To dispose of the battery, follow these steps:
- Press the Battery Release button (A) and gently pull the battery out.
- Hold the camera in one hand, and use your other hand to push the new battery into the bottom of the camera.
- Make sure the battery is locked into place.
- To make sure that the battery and all the cables are inserted correctly, press the ON/OFF for 3 seconds to power ON the camera.
At the end of its useful life, properly dispose the battery following all local regulations.
For information on disposal/recycling options in the European Union, see the European Portable Battery Association (EPBA) at http://www.epbaeurope.net/
No image is displayed on the screen
Action:
- Make sure the power indicator LED on the docking station is green (for wireless only).
- Make sure the power indicator LED on the camera is green.
- If you use a video monitor, make sure the correct port is used to connect the docking station to the video monitor.
- Disable the firewall and the antivirus software then try again. If an image is now displayed, perform necessary adjustments to the firewall and the antivirus software settings before opening the Acquisition interface again.
The camera captures an image but does not display live video or record video
Action
- Make sure the computer meets the minimum system requirements.
- Make sure you use the USB cable provided with the CS 1500 intraoral camera.
After installing the camera, other USB devices do not work correctly
Action
- Plug the camera into a different USB port (for desktops, it is recommended to use the rear USB ports).
- If the camera is directly connected to the computer, try using a self-powered USB hub. If using a USB hub, try connecting the camera directly to the computer.
The camera is not active within the Imaging Software interface. The camera icon is "greyed out".
Action
- Imaging Software, go to Options -> Preferences -> Camera. Make sure that Use a Video capture source box is checked.
- From Windows Control panel, select Add or Remove Programs and make sure that the CS 1500 IO Camera drivers are displayed.
- Reinstall the Acquisition interface software.
The colours of the live video or captured images are not accurate
Action
- In the Acquistion interface, open acquisition mode settings Preferences and adjust contrast and brightness.
- Check the contrast and brightness of the computer monitor.
Inconsistent auto focus or blurred image
Action
- Make sure the lens is not fogged.
- Make sure the protective sheath is flattened against the lens and properly inserted (transparent side facing the lens).
- Try restarting the camera.
- Try replacing the sheath.
Live video/Recorded video is choppy or lagging
Action
- Make sure that the graphics card is using the latest drivers. Visit the website of the graphics card manufacturer to learn how to update the drivers.
Glitches with the display in Windows Vista or 7
Action
- Click Start -> Control Panel (View by Large Icons) -> Performance Information and Tools, and select Re-run the assessment to refresh the rating score.
- Make sure that the graphics card is using the latest drivers. Visit the website of the graphics card manufacturer to learn how to update the drivers.
Camera focuses on sheaths during auto focus process
Action
- During the auto focus process, the camera may temporarily focus on the sheath prior to focusing on the correct item.
The camera does not power up properly or the white light LEDs never turn on
Action
- Use the dual USB cable to provide additional power to the camera (for wired USB model only).
The Activate Camera button is missing in the Acquisition module
Action
- Make sure the CS 1500 intraoral camera is properly paired to multiple docking stations.
- Make sure that the correct version on Imaging Software is installed.
- Make sure that the camera and docking station have the correct versions of firmware installed (for wireless model only).

Enquire Now
Ready to buy new equipment? Speak with our equipment specialist today.Share


Services and Solutions
;)
Fast Track Service
Fast Track allows dental practices to acquire high-quality dental equipment quickly, without having to wait for long periods.
;)
Increasing your practice value
By investing in latest technologies, updating your equipment, and increasing your availability with a new surgery room, you can attract new patients, improve the quality of care you offer, and differentiate your practice from competitors.
;)
;)
Henry Schein Financial Services
A vast range of financial products and services that are offered through our finance partners nationally
SunSchein Clearance
SunSchein offers a wide range of ex-showroom and ex-demonstration dental equipment, including treatment centres, laboratory equipment, and digital dentistry equipment.
Dental Equipment
Uncover everything you need for your dental practice, from essential dental equipment to cutting-edge solutions.